CyberArk Identity and OIDC (OpenID Connect) in ASP.NET Core 7.0 Application - Part 2: Authorization

In this tutorial, will demonstrate how to setup custom claims and authorization with CyberArk Identity and OIDC (OpenID Connect) in ASP.NET Core 7.0 web application. This tutorial is a continuation of Part 1: Authentication
https://zerotrust.how/cyberark-identity-oidc-in-asp-net-core-7-0-part-1-authentication/
Prerequisites
- Visual Studio Code or any IDE that supports ASP.NET application
- .NET 7.0 SDK
- CyberArk Identity
Demo
Create Roles in CyberArk Identity
Log in to CyberArk Identity Admin Portal and Navigate to Core Services -> Roles menu, then click on Add Role button.
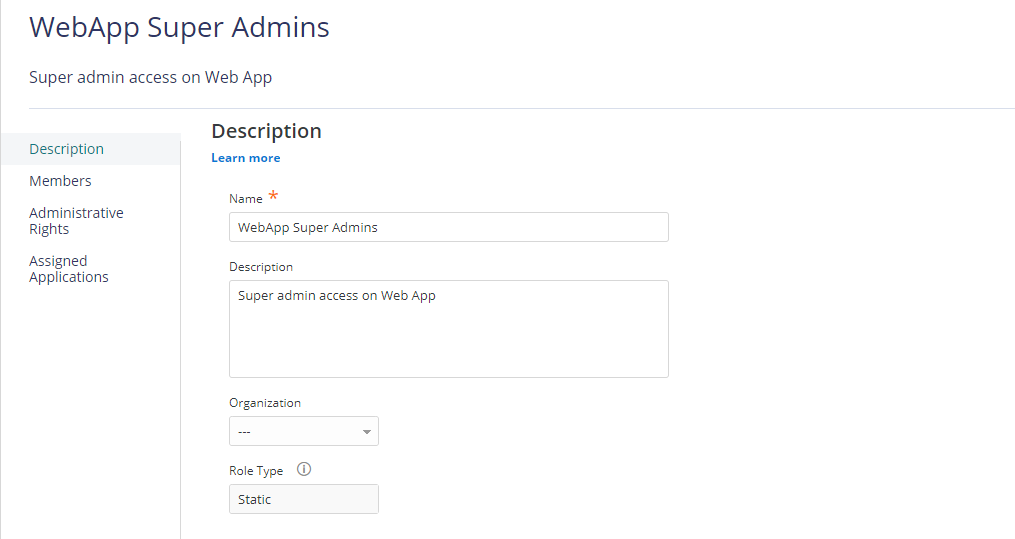
On the Add Role screen, Enter Role Name and Description (optional) then click on Save. In this case, I created 3 roles:
- WebApp Users
- WebApp Security Admins
- WebApp Super Admins
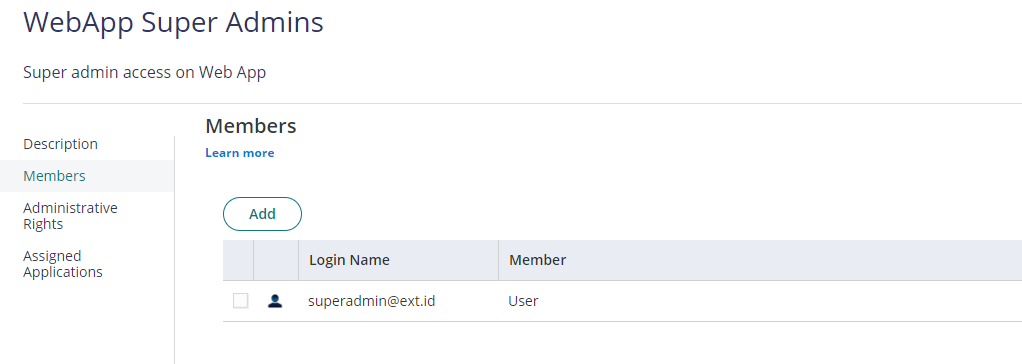
Click on Members tab of the Role, Add Users as needed, then click on Save.
Assign Permissions and Set Custom Claims in CyberArk Identity
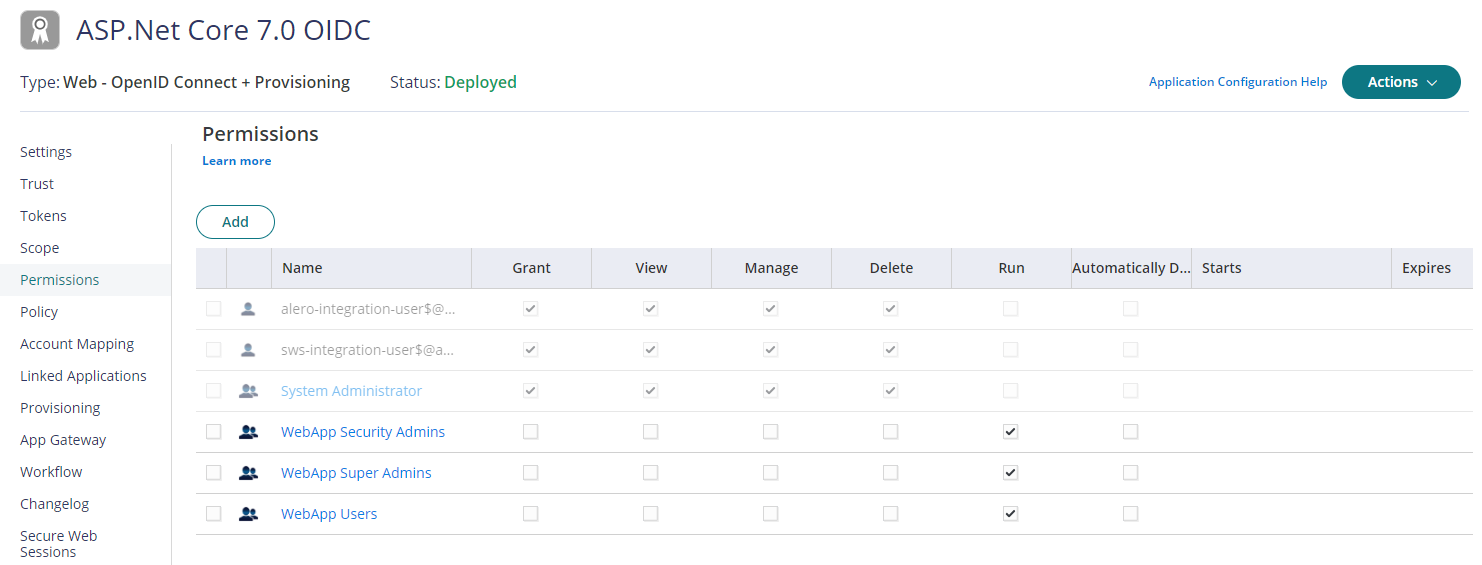
Navigate to App & Widgets -> Web Apps menu, then open the Web App. In this case, ASP.Net Core 7.0 OIDC.
Click on Permissions tab, add above created roles and select Run access then click Save to deploy.
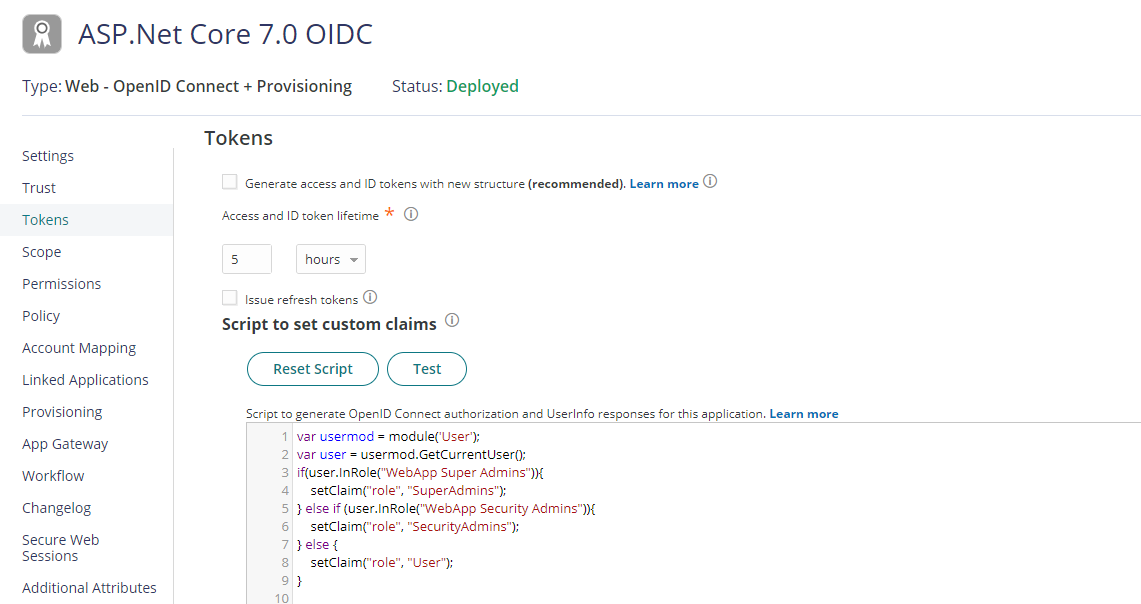
Click on Tokens tab, add below custom script to set custom claims on Script to set custom claims editor and click on Save. In this script, we are using User module to check user role and set role claim.
var usermod = module('User');
var user = usermod.GetCurrentUser();
if(user.InRole("WebApp Super Admins")){
  setClaim("role", "SuperAdmins");
} else if (user.InRole("WebApp Security Admins")){
  setClaim("role", "SecurityAdmins");
} else {
  setClaim("role", "User");
}
Configure ASP.NET Core 7.0 Application for Authorization
Open the project in VS Code, edit HomeController.cs file and add the below code and add using Microsoft.AspNetCore.Authorization; for the Authorize decorator.
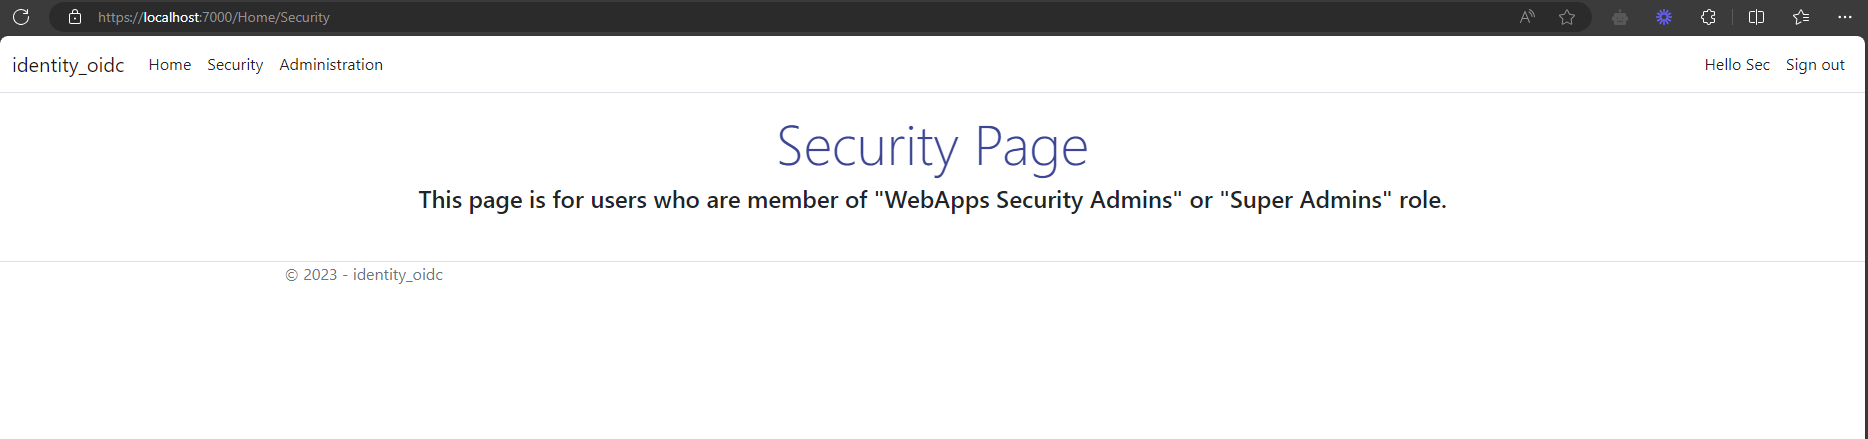
[Authorize(Roles="SecurityAdmins,SuperAdmins")]
public IActionResult Security()
{
return View();
}
[Authorize(Roles="SuperAdmins")]
public IActionResult Administration()
{
return View();
}
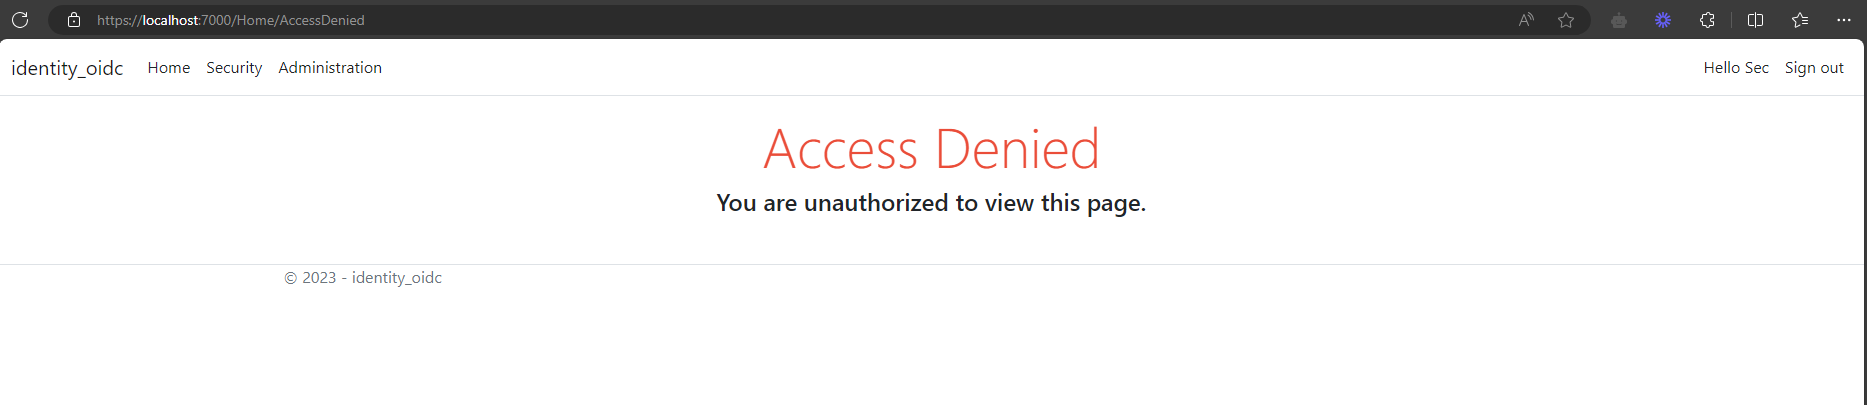
public IActionResult AccessDenied()
{
return View();
}Add the following code to AccountController.cs for AccessDenied() action.
public IActionResult AccessDenied()
{
   return RedirectToAction("AccessDenied", "Home");
}
Now add the user experiences. In the /Views/Home folder, add a files Security.cshtml , Administration.cshtml and AccessDenied.cshtml. Check the GitHub for the html code.
Save all the code and open the terminal. Run the below command to launch the web application.
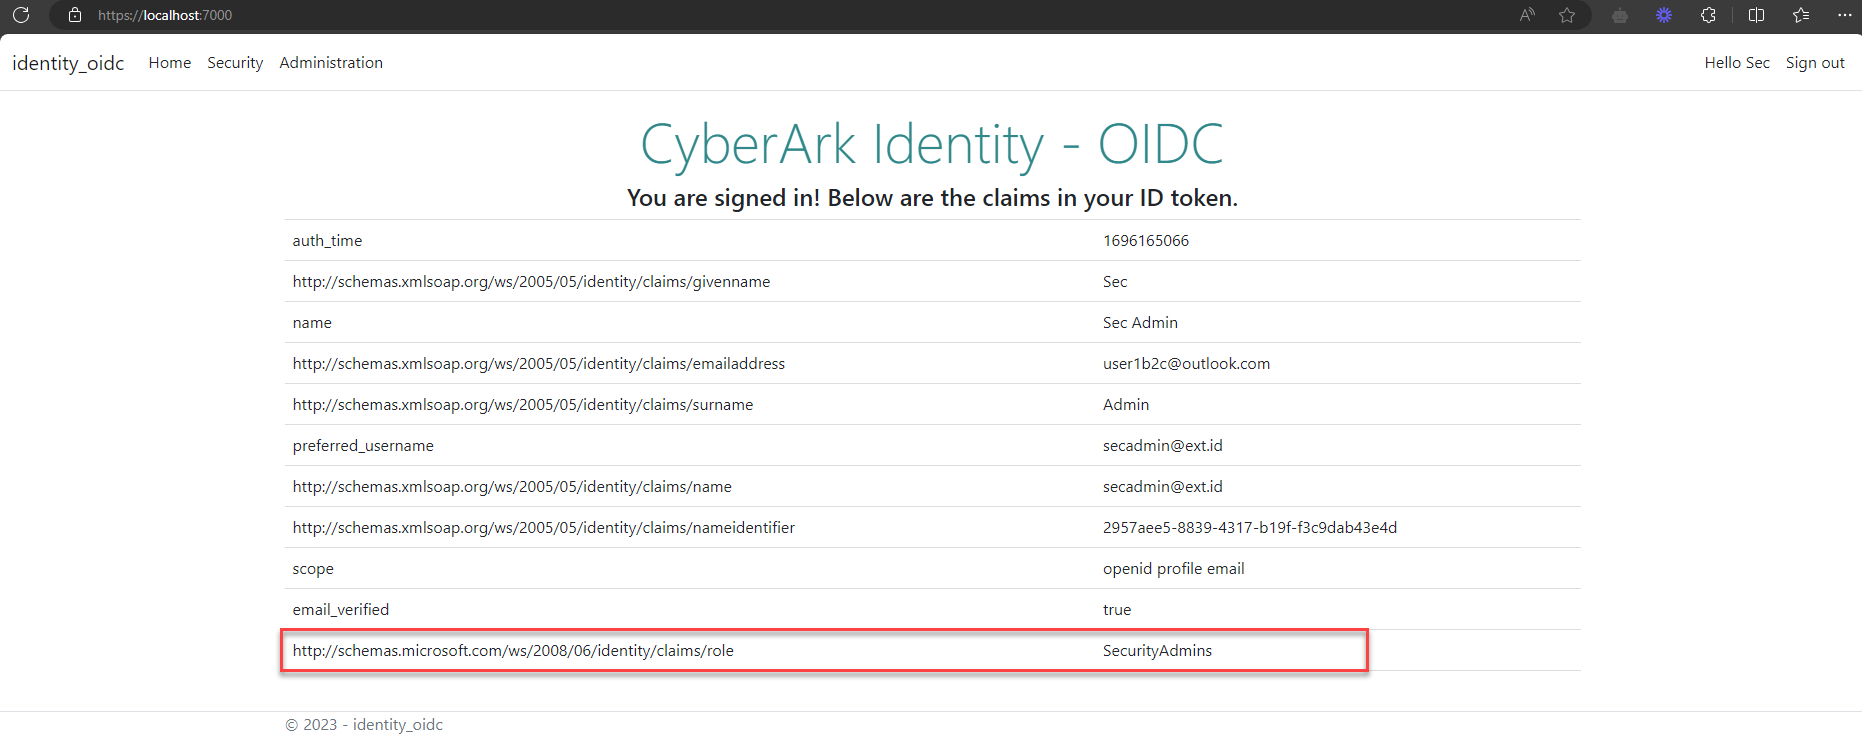
dotnet run --launch-profile httpsOpen a new private browser, and enter the application URL into the browser, in this case https://localhost:7000. Once successfully authenticated on CyberArk Identity, browser will be redirected to home page, only the authorized pages will be visible to user, rest of the pages will be redirected to Access Denied page.
The final code for this post, can get it from GitHub.